Practical Guide to Setting Up Demo Zones for Interior Lighting
Creating effective demo zones is crucial for interior lighting studios looking to showcase their offerings. This guide provides practical insights into setting up these zones using best practices based on industry standards and expert recommendations.
Understanding the Importance of Demo Zones
Demo zones are essential for demonstrating how different lighting solutions can transform a space. According to research, well-designed demo areas can significantly influence customer decisions, with studies showing that effective displays can increase sales by up to 30% in similar contexts. These zones allow potential customers to visualize the atmosphere and functionality of various lighting setups, ultimately aiding in their decision-making process.
"A thoughtfully designed demo zone can not only highlight product features but also create an emotional connection with potential buyers." - Industry Expert
Key Elements of an Effective Demo Zone
Setting up a successful demo zone involves several critical elements:
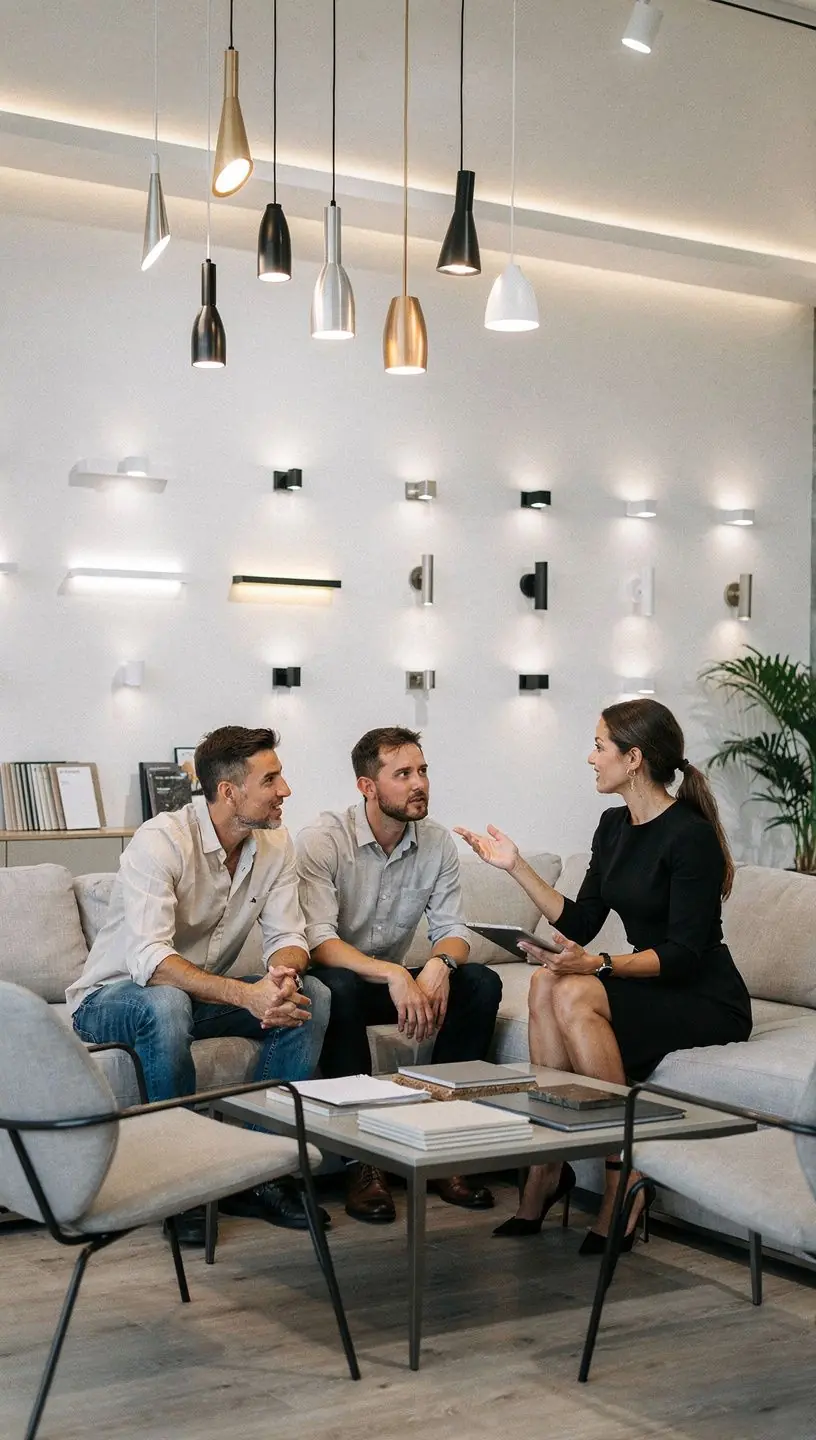
- Defined Space: Choose an area that is spacious enough to allow for multiple setups while ensuring that each setup is distinct and easily navigable.
- Variety of Lighting Solutions: Include a diverse range of fixtures, from ambient to task lighting, allowing customers to see the effects of different light types.
- Adjustable Settings: Utilize dimmers and color temperature controls to show how lighting can alter a room’s mood and functionality.
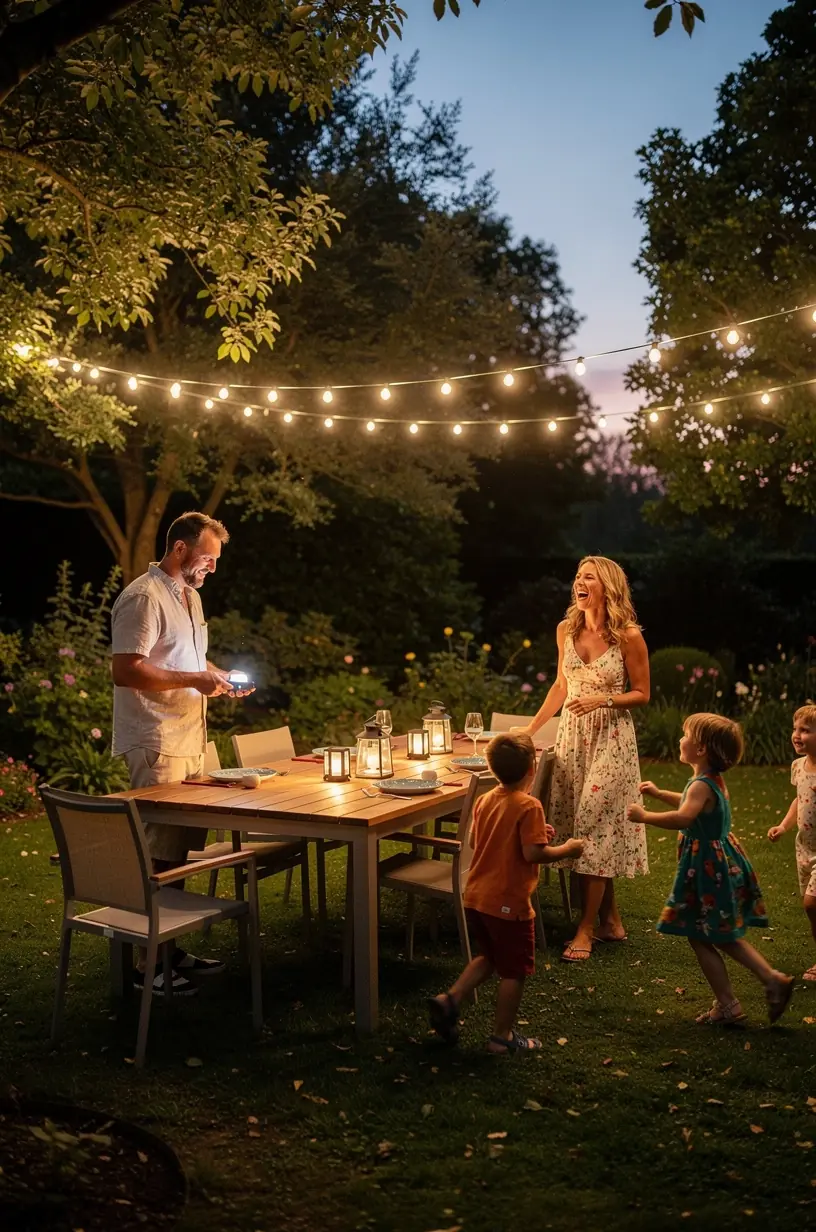
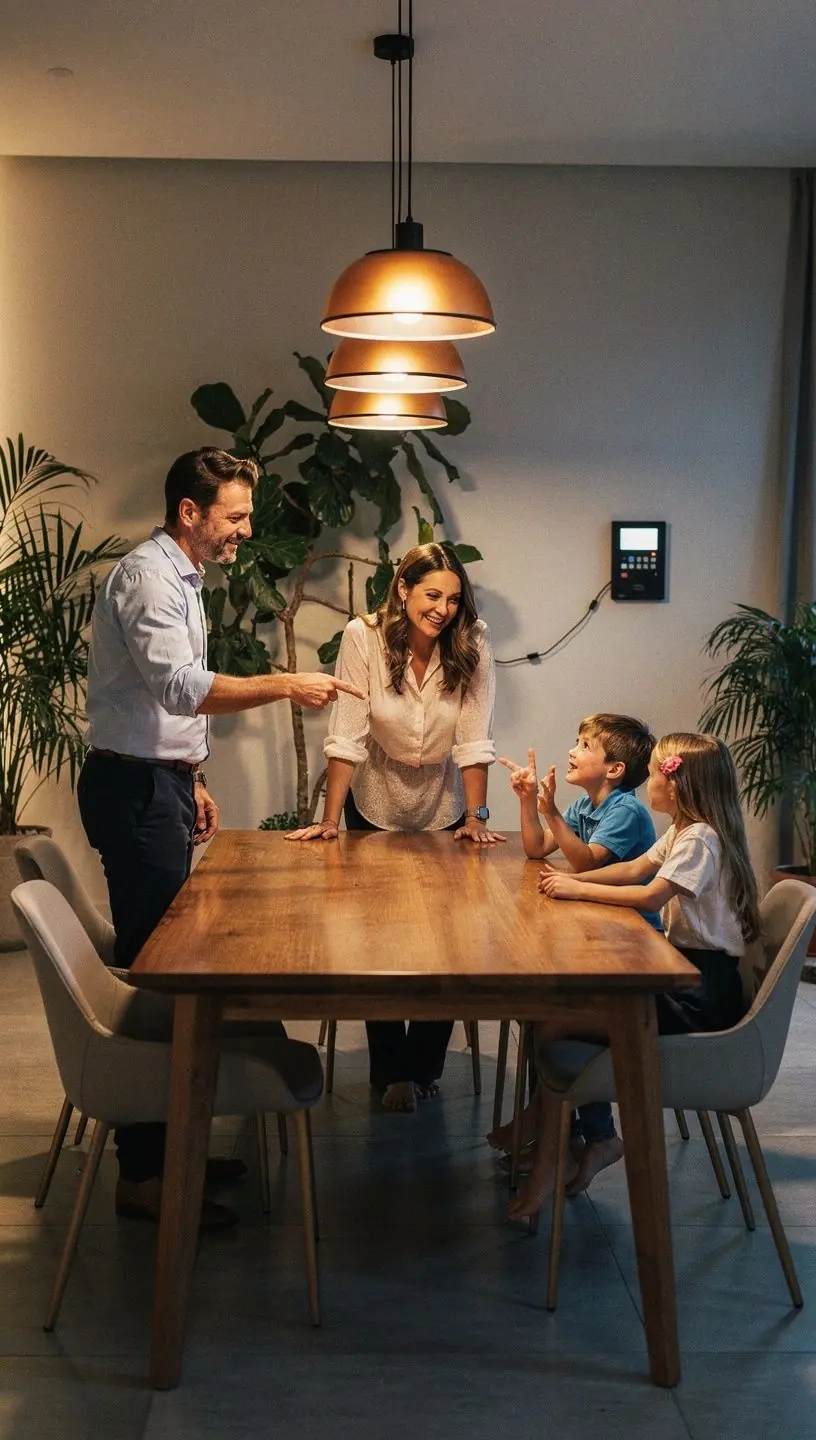
- Realistic Environments: Create small vignettes that mimic actual rooms, such as dining areas or living rooms, to give customers a better understanding of the products in real-life settings.
Steps to Create Your Demo Zone
Here’s a step-by-step approach to setting up your demo zone:
- Plan Your Layout: Map out your demo zone layout based on the space available. Ensure there's enough room for customers to walk through comfortably.
- Select and Arrange Fixtures: Choose lighting fixtures that represent your product range. Arrange them to highlight their features and effects.
- Incorporate Interactive Elements: Consider adding interactive displays, such as touch panels that allow customers to adjust lighting levels or colors.
- Gather Feedback: After setting up, invite a few trusted customers or colleagues to provide feedback on the layout and effectiveness of the demo zones.
Acknowledging Limitations
While creating demo zones can significantly enhance customer experience, it is essential to acknowledge that this process typically takes several weeks to finalize. It requires adequate planning, investment in quality fixtures, and continuous adjustments based on customer feedback. Many users report a learning curve associated with perfecting these setups; therefore, patience and adaptation are critical.
Conclusion
In summary, setting up demo zones is an effective strategy for interior lighting studios aiming to engage customers and showcase products. By following the steps outlined and acknowledging the necessary effort and time, you can create an inviting atmosphere that not only highlights your products but also resonates with potential buyers. As the industry evolves, staying informed about best practices will help ensure that your demo zones remain effective and relevant.